If you just bought your first ASUSTOR NAS, and you’re new to the NAS game in general, getting set up may seem a bit daunting–but it doesn’t have to be. Here’s how to set up your ASUSTOR NAS.
What is an ASUSTOR NAS?
ASUSTOR is a company, founded in 2011 under its parent company, ASUS, dedicated to manufacturing Network-Attached Storage (NAS) servers, a computer appliance for storing and serving files. A NAS is connected to your local network and is more secure than cloud-based storage solutions.
ASUSTOR manufactures NAS products for a large range of users, from personal to power users to SOHO to the SMB. If you’re still in the purchasing phase, you can look at their large selection of products on their official site.
ASUSTOR NAS comes in two different form factors: tower and rack models. Which model you go with, of course, depends on your environment. For home use, you’ll want to go with a tower model. If your NAS is going to be stored in a server room at an office, and if you have a rack at your disposal, consider a rack model if it fits your needs.
What is the ASUSTOR Operating System?
The ASUSTOR operating system is a proprietary operating system known as ASUSTOR Data Master (ADM), which comes pre-installed with every NAS in their lineup. ASUSTOR designed ADM for a usability, easy navigation, and they didn’t slack on the aesthetics either. Sporting a web-based graphical UI, it’s about as user friendly as it gets.
ADM also comes pre-installed with all the essential apps you’d need in the beginning–plus more. Additionally, they provide an app store called APP Central that has a large library of interesting apps you can install on your device.
Physically Setting Up Your ASUSTOR NAS
With that brief background out of the way, it’s time to set up your ASUSTOR NAS. When you purchase your NAS, you’ll find this content packed with it:
- Installation Guide
- x1 AC Adapter and Cable
- x2 RJ-45 Cat5e Ethernet Cables
- An appropriate amount of Phillips Screws (for 2.5″ drives)
You’ll need to purchase the HDDs or SSDs separately. Before you make a purchasing decision, be sure to verify the drives you have in mind are compatible with your selected NAS. ASUSTOR provides a compatibility list that shows each drive that was vetted and approved to be compatible by their engineers. It’s highly recommended that you choose your drives from this list.
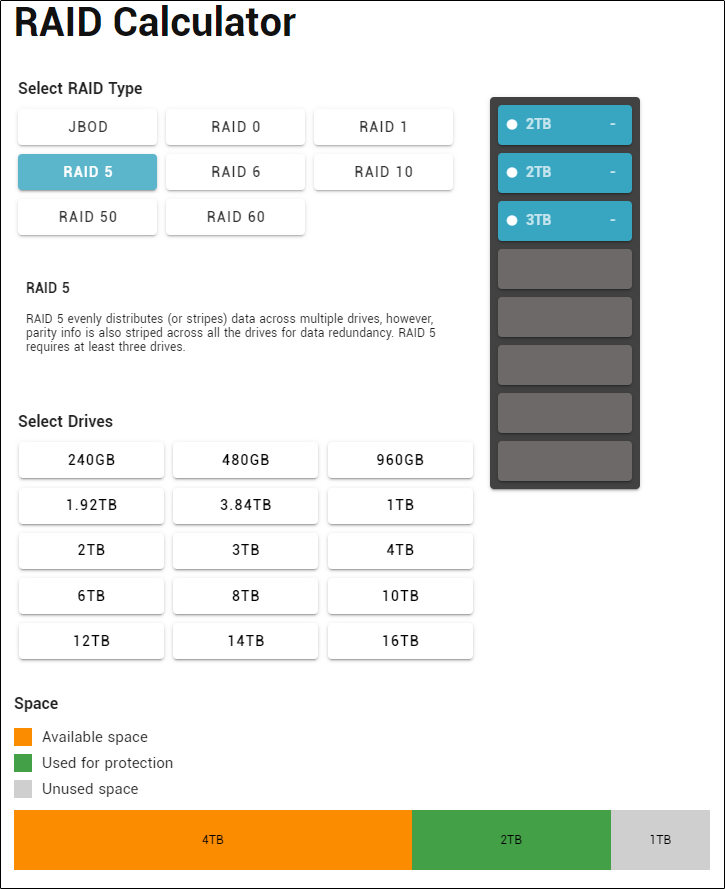
When it comes to drive selection, you’ll want to compare the data storage space you need for storage and the space you need for data redundancy. This can be a bit confusing when choosing your RAID type, so we designed a RAID Calculator to help you understand how your selected combination of drive sizes will impact available storage space and redundancy.
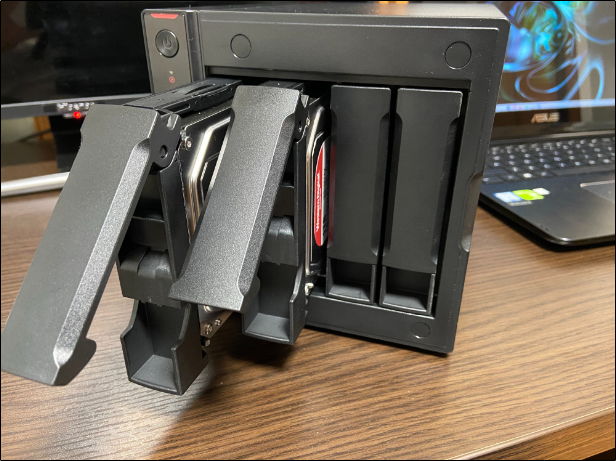
Depending on the model you purchased, access to the drive trays will be different. Some models have a magnetic front that you need to remove to uncover the drive trays, while others are already exposed.
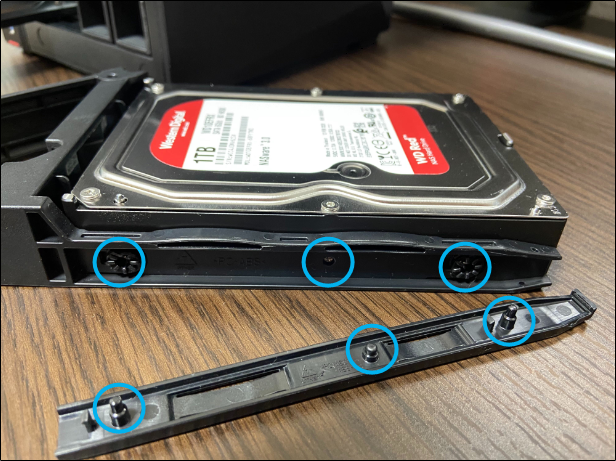
Go ahead and remove the dray trays. You can do so by unlocking the handle (by pressing a button or pulling the handle) and sliding the tray out. Once the tray is out, remove the side bars on the tray, place the drive in, and then replace the side bars. As you can see, ASUSTOR implemented a screwless design with their trays. However, if you’re using 2.5″ drives, you’ll need to add some screws.
Once you’ve securely placed the drives in the tray, slide the trays back into the NAS.
Now that the drives are in the NAS, go ahead and plug the NAS up to a power source and connect it to your local network with one of the provided Ethernet cables.
Configuring Your NAS
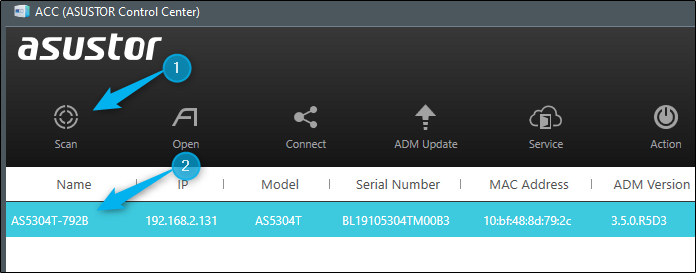
Now it’s time to configure your NAS. Locate the NAS on your local network or, if you know the IP address, type it into your browser’s address bar. You can download ASUSTOR Control Center to search for your NAS.
Once you’ve accessed your NAS, you’ll be greeted by the setup wizard. In the first step, you’ll be presented with two setup options:
- 1-Click Setup: Uses optimized settings based on your computer settings and the drives you are using. (Recommended by ASUSTOR)
- Custom Setup: Manually configure the settings.
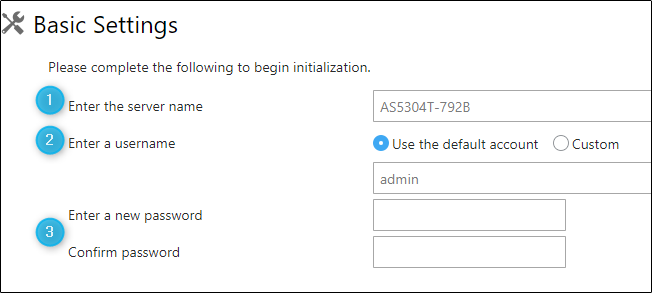
We’ll go through the custom setup. The first thing you’ll need to do here is (1) enter the server name, (2) enter a username, and (3) enter a password. Use a secure password!
The next two pages are for setting up your date and time, and also your network settings, such as using link aggregation, IP settings, and so on. Once you make it past that, you’ll handle volume settings.
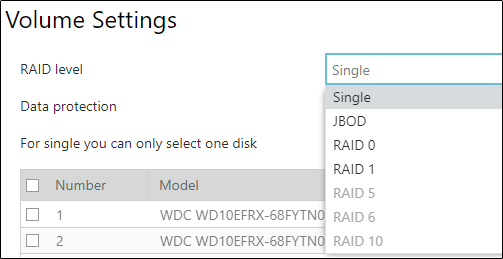
The first step here is choosing a RAID level. Depending on how many bays your NAS has and how many drives you have to accompany it determines which RAID types you can use. For our 4-bay NAS, these are the available options:
When you’ve selected your RAID type, check the boxes next to each drive to add them to the array. Note that even if your NAS supports RAID 10, for example, if you don’t have enough drives then the option will be grayed out.
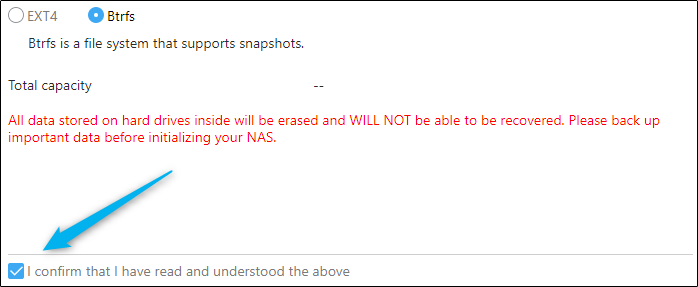
Next, you’ll get to choose your preferred file system. You’ll have two options:
You’ll also see a warning stating that data on the drives will be erased and you can’t recover the lost data. If you’re sure it’s ok to proceed, check the box to confirm you’ve read and understand the note.
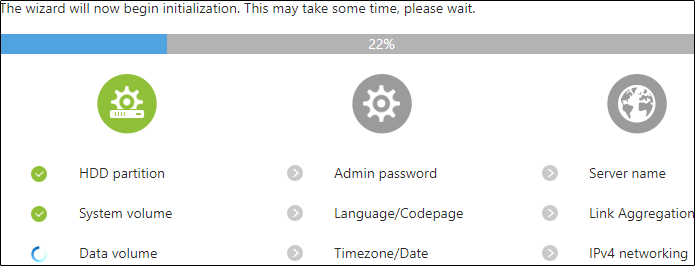
Finally, you’ll make it to the initialization screen. Just sit back and relax while your NAS does all the heavy lifting.
After this is complete, you can then register your NAS and/or select some applications to install. If you’d like to save this for later, you can just skip these steps.
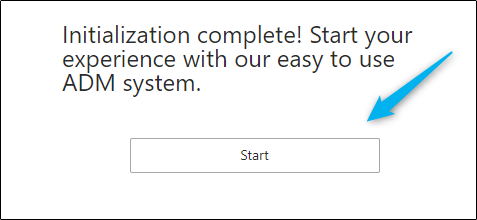
On the final page, you’ll see that the initialization is complete! Click “Start” to start using your ASUSTOR NAS.
Once selected, you’ll be brought to the home page of your ASUSTOR NAS. That’s all there is to it! Your ASUSTOR NAS is now set up and ready to use.


