QNAP made their NAS products as user-friendly as possible, but the initial set up of the NAS can still be a bit intimidating for first-time users. Here’s what you need to know to set up and get started with your QNAP NAS.
What Is a QNAP NAS?
Network-attached storage (NAS) is a device designed for data storage that generally offers additional functionality. QNAP, founded in 2000, is a company that specializes in the manufacturing of NAS servers, network switches, and various other storage and networking hardware/software.
QNAP provides a NAS solution for everyone–from power users to small businesses to the enterprise. The current selection of NAS ranges in size from 1-bay all the way up to 30-bays, and come in set-top design, tower, and rackmount form factors.
Each QNAP NAS comes with a proprietary operating system depending on which type of NAS you purchased.
- QTS: Linux-based operating system.
- QuTS hero: Combines the app-based QTS with a 128-bit ZFS file system.
- QES: QNAP’s enterprise operating system based on FreeBSD and utilizes the ZFS file system.
The model we’ll be using in this setup process is the QNAP TS-453D NAS, which sports a tower form factor and the QTS operating system.
The Physical Setup of the QNAP NAS
The NAS will arrive with different items depending on which type of NAS you bought. At the very minimum it should arrive with a power cable, an Ethernet cable, some screws to mount the drives to the drive trays, a warranty card, an installation guide, and, of course, the NAS itself.
Most of the time, the NAS will be barebone–meaning it comes without the hard drives. The first thing you’ll need to do is check QNAP’s compatibility list to learn which drives are actually tested and recommended by QNAP for your model.
When it comes to deciding which size drives to purchase, you’ll need to make a decision on how much space you want for actual storage, and how much you want to use for redundancy. Depending on how many drive bays your NAS comes with will determine which RAID types are available. For example, if you have a 2-bay NAS, you can choose between JBOD, RAID 0, and RAID 1. We’ve developed a RAID calculator to help you determine how much available, redundant, and unused storage space you’ll have for your selected RAID type and drive capacity.
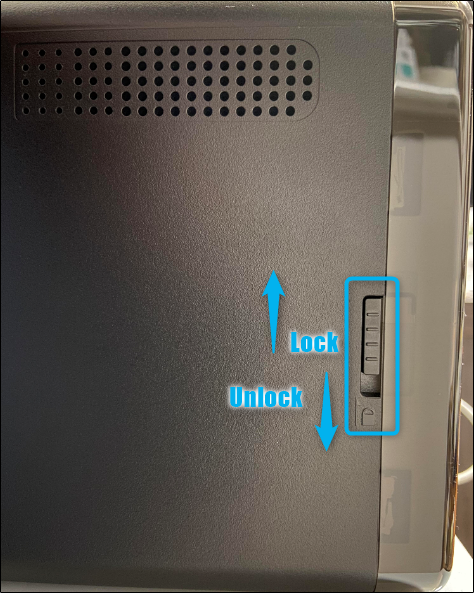
Once you have your drives, it’s time to install them. Our NAS (TS-453D) has a cover over the drive bays that slides off but, depending on your model, the instructions for removing the cover may be slightly different, or you may not even have a cover. If you have a sliding cover, push down the lock switch on the side of the NAS to unlock the cover and then slide the cover off.
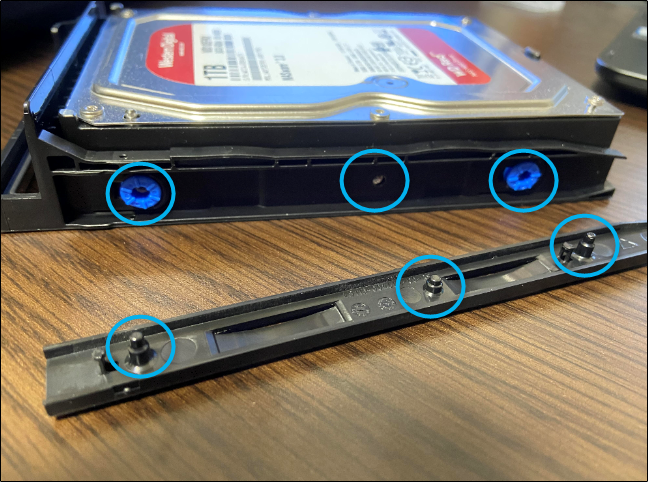
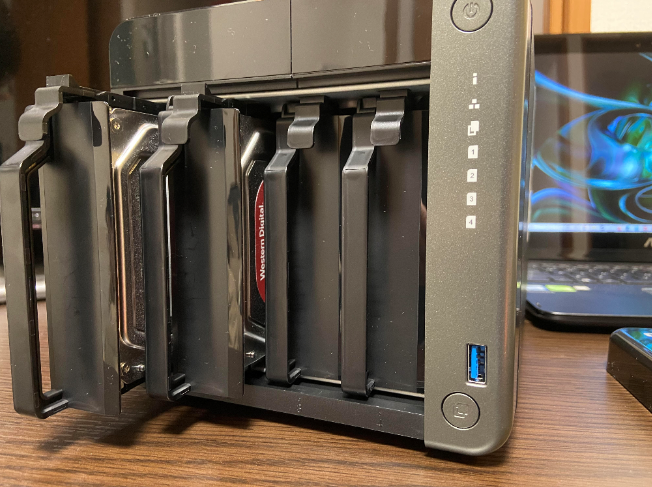
Once you’ve removed the cover, gently pull the trays out. You’ll notice a clip on each side of the tray, which are a part of QNAP’s screwless design. Remove the clips on each side of the tray, place the drive inside, and then add the clips back. To further reinforce the drives, you can add the screws, though this isn’t necessary. However, you’ll need to use the screws if you’re using a 2.5″ drive.
With the drives securely fastened in the trays, slide them back into the NAS.
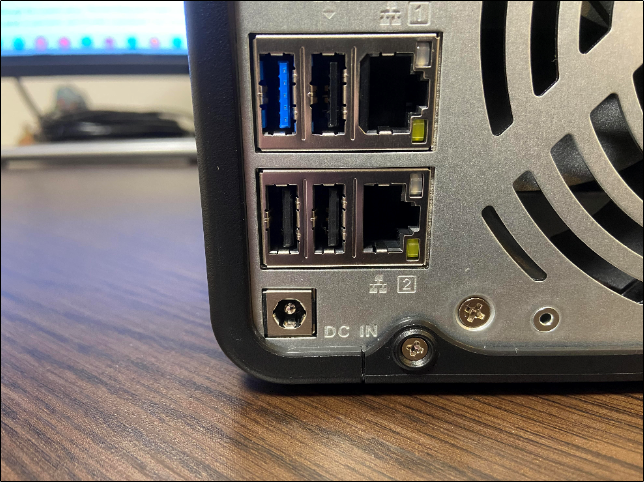
On the back of the NAS, you’ll find at least one ethernet port and the DC IN power port.
Plug the NAS up to a power source and connect it to your local network with one of the provided Ethernet cables, and you’re good to go.
Configuring the QNAP NAS
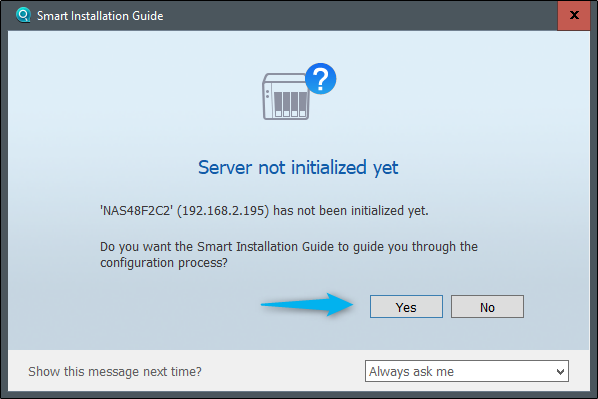
Once you’ve set up the physical aspects of your NAS, turn it on and find the NAS on your local network using Qfinder Pro. When you download and open Qfinder Pro, it should automatically locate your NAS and recognize that it hasn’t been initialized yet. The Smart Installation Guide window will ask you if you want it to guide you through the configuration process. Click “Yes.”
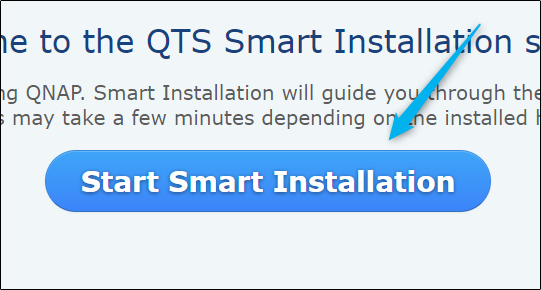
The QTS Smart Installation system will open in your default browser. To get started, click “Start Smart Installation.”
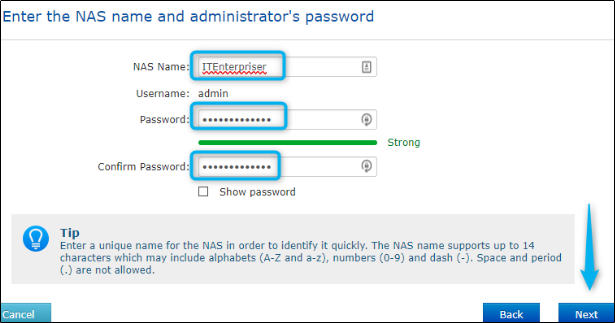
On the first page of the installation guide, you’ll need to give your NAS a name (which will also appear on your network) and the admin password. The NAS name supports up to 14 uppercase and lowercase letters, numbers, and dashes. The password can be up to 64 characters, and supports uppercase and lowercase letters, numbers, and special characters. The password must be at least 8 characters long, but we recommend making it as strong as possible.
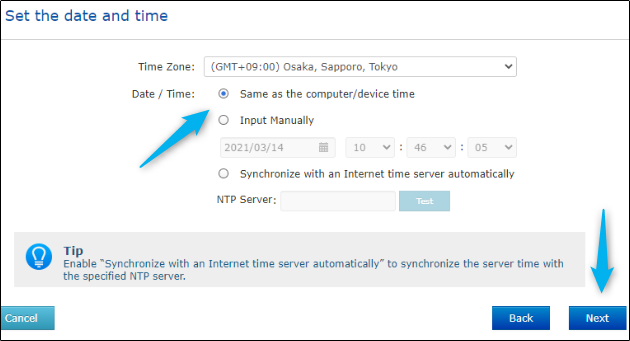
On the next screen, you need to set the date and time. You can choose which time zone you’re in, use the same date/time as your computer, input it the information manually, or automatically sync with an Internet time server.
Click “Next” when you’ve set things up.
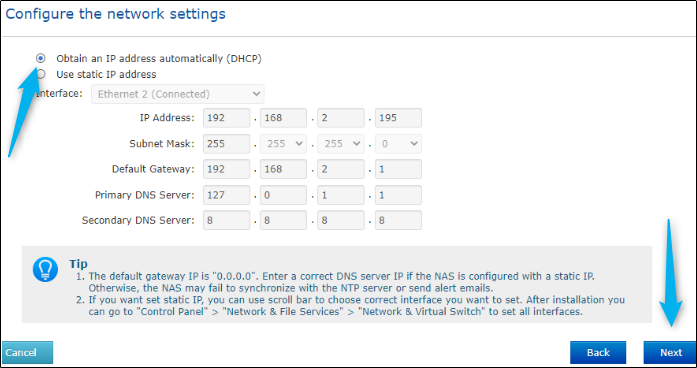
Next, configure the network settings. Automatically obtaining an IP address is the quickest route, but you can also use a static IP address.
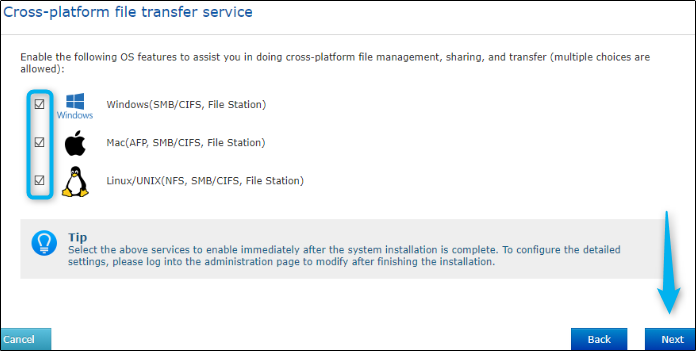
Finally, enable the OS features you want to use for cross-platform file management, sharing, and transferring. You can select more than one option.
The NAS will begin getting things set up, which could take a few minutes. Once ready, the Help Center will appear on the QTS interface, providing a few resources to get you started with your new NAS.
A Brief Overview of QTS
QTS is QNAP’s sophisticated operating system. It’s stable, provides a polished desktop-like interface, and offers a large library of apps, layering additional functionality on your NAS, making it much more than just a storage device.
QNAP supports all the usual NAS options like shared folders, users, user groups, iSCSI, Telnet/SSH, Active directory, Time Machine, AFS/SMB/NFS, and more. QNAP also provides its own web portal-based remote access, plus remote access, multimedia, and sync clients for Windows, macOS, Linux, iOS, and Android.
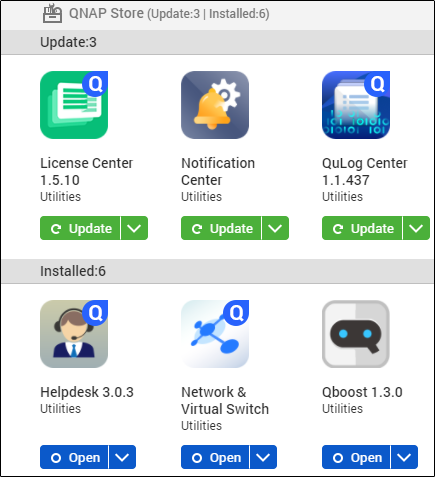
QNAP’s App Center is where you can install, remove, and update apps. QTS will let you know when an application is ready to be updated.
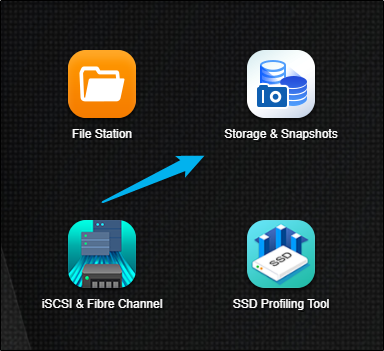
The Storage & Snapshots app is where you’ll manage disks, storage space, and other storage features. To get started using your NAS, you’ll need to create a storage pool and volume. This app is already installed by default.
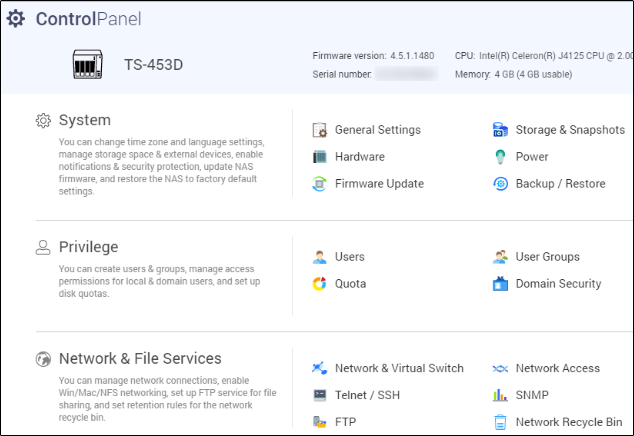
The Control Panel is where you can change system setting, create users and groups (and manage access permissions), manage network connections and file services, and much more.
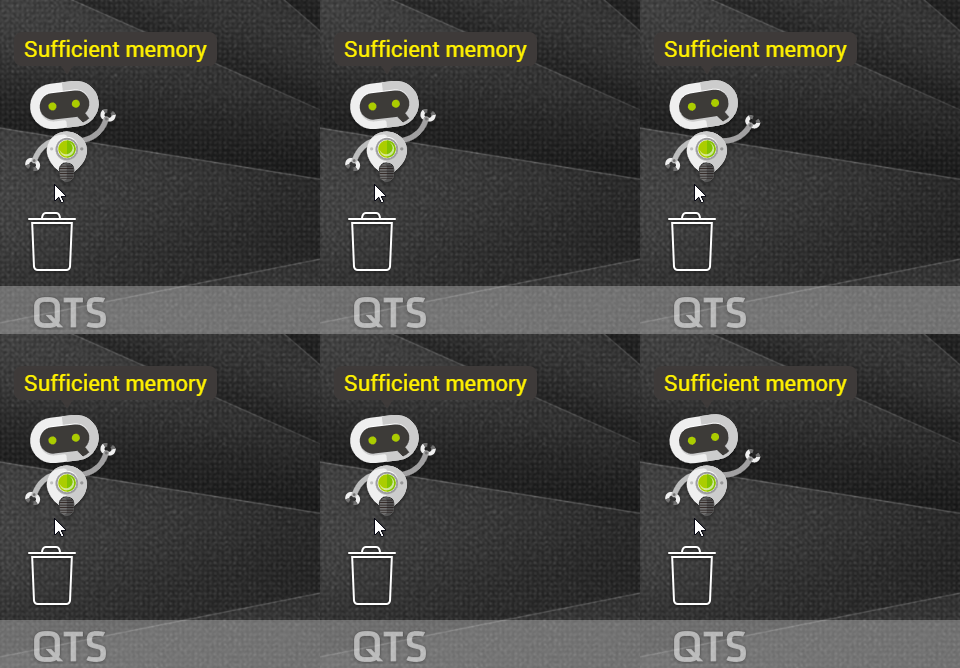
QNAP even provides a friendly robot (Qboost) that lets you analyze system performance.
Now that you’ve got your QNAP NAS set up and initialized, go familiarize yourself with QTS, explore its installed apps (and apps you can install in App Center), and read up on the Help Center documentation to help you continue your journey with QNAP.


